Last modified: January 12, 2023
Set Image for an Actor
An actor needs an image so that the player can see it on their screen.
In this lesson, you will explore how to give an actor an image.
The Image Chooser
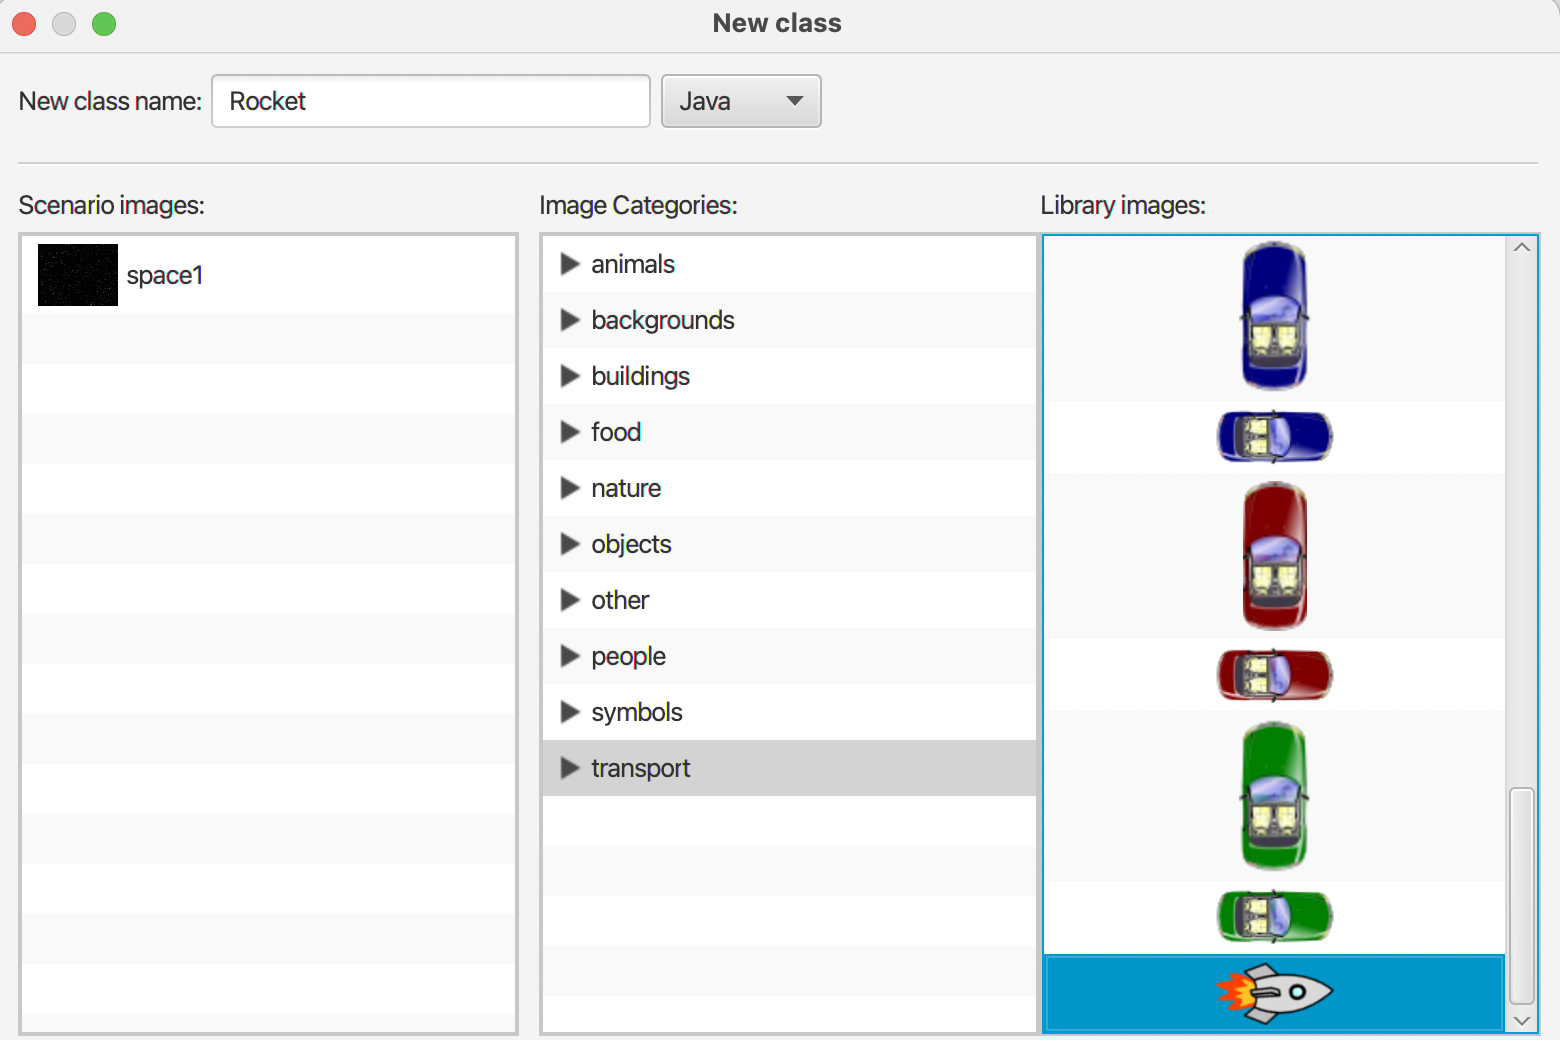
When you create a new actor class,
Greenfoot would automatically prompt you to choose an image from a variety of images for your new actor.
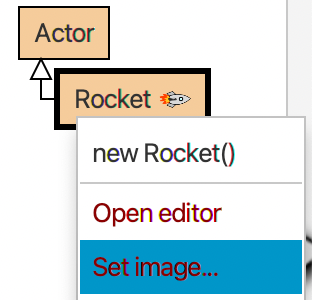
If you did not choose an image immediately upon creating an actor class,
you can choose an image later by right-clicking the yellow box of the actor class
and the "Set Image..." option.
The setImage Method
The Image Chooser is super convenient for giving your actor an image.
But what if you need to change your actor's image during the game?
What if you need to use a custom image beyond the default ones offered by Greenfoot?
In this case, you need to set and change your actor's image in your Java code,
and setImage is the method for this purpose.
setImage accepts either of the following parameter:
- a string indicating the file name of the image
- the actual image file needs to be under the /images folder inside the scenario folder
- for example, if in the HelloWorld scenario, the scenario folder will look like:
- MyWorld.java
- Rocket.java
- project.greenfoot
- images <---- this sub folder is where all of your custom images should be stored
- a GreenfootImage object
- this is used for generating an image via Java code
- see the second example below
Here are some examples:
public class Player extends Actor {
    public Player() {
            // This assumes there is an image file named player.png
            // in the "/images" folder of the project
            setImage("player1.png");
    }
}
public class Rect extends Actor {
    // default constructor for Rect
    public Rect() {
        GreenfootImage img = new GreenfootImage(50, 50); // make a blank 50x50 image
        img.setColor(Color.RED); // set the drawing color to red
        img.fillRect(0, 0, img.getWidth(), img.getHeight()); // fill the image with red
        setImage(img); // set the image of this Rect to the red rectangle we drew
    }
}
If you wish to learn more about the setImage method,
you can visit Greenfoot's official API documentation for setImage
at this link.

