Last modified: March 28, 2023
Lode Runner HW 4 Two Players
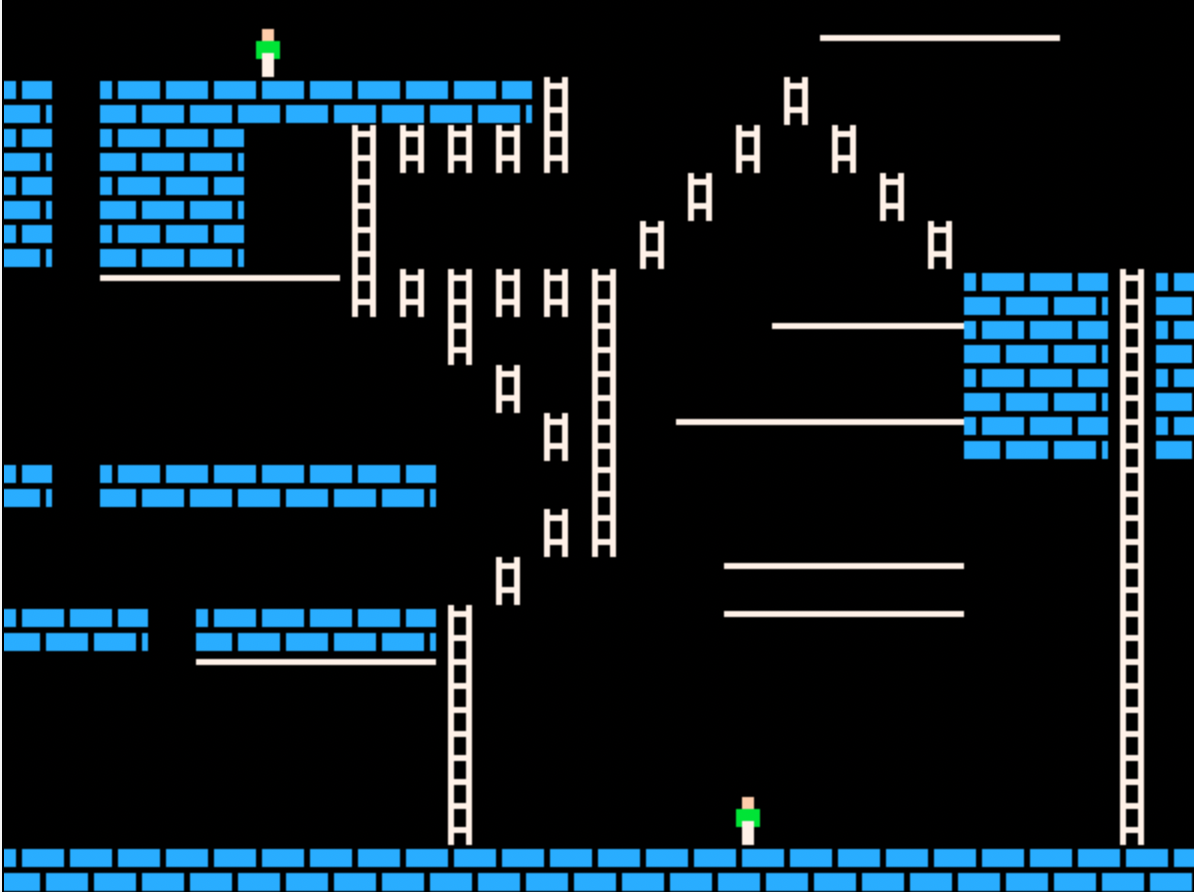
In this lab, you will add another player to your Lode Runner game.
This second player will be controlled by mouse.
You can see how this will look like in the demo of this lab
here.
Player controlled by mouse
Start with the level you had from HW 1, 2, or 3 (the most recent assignment that is working).
Create a MousePlayer class.
The MousePlayer class should represent players that behave exactly like other players,
following the same movement rules,
except that they get their input from the mouse instead of the keyboard.
Your MousePlayer:
- moves left if the mouse is to the left of the left edge of the player's image.
- moves right if the mouse is to the right of the right edge of the player's image.
- moves up if the mouse is above the top edge of the player's image.
- moves down if the mouse is below the bottom edge of the player's image.
Your MousePlayer should only move in one direction at a time, so if multiple conditions are true,
the MousePlayer should prioritize horizontal movement.
If none of the conditions are true, then don't move.
According to the Greenfoot API,
by calling Greenfoot.getMouseInfo(),
you can get an MouseInfo object, which contains information regarding the mouse.
Therefore, in your act() method, you can add something like:
MouseInfo mouseInfo = Greenfoot.getMouseInfo();
According to the MouseInfo API,
the most helpful methods in MouseInfo are:
| Method Name |
Return Type |
Method Description |
| getX() |
int |
Return the current x position of the mouse cursor |
| getY() |
int |
Return the current y position of the mouse cursor |
IMPORTANT:
If the user's mouse is not currently on the Greenfoot game screen,
Greenfoot.getMouseInfo() will return null.
Therefore, before calling mouseInfo.getX() or mouseInfo.getY(),
you need to check if mouseInfo is null using something like if (mouseInfo != null)
Submission
Zip your entire project folder and submit it below.
- Name your project folder
PX_LastName_FirstName_LodeRunner.
- Right click on your project folder and Send To -> Compressed (zipped) folder. On a mac compressing is similar, using a right click, but has a slightly different option.
- You should end up with a zip file named
PX_LastName_FirstName_LodeRunner.zip. For example if you were in 3rd period and named Michael Wang, then you would name the file P3_Wang_Michael_LodeRunner.zip
- Make sure your Google Doc has Editing permissions for "anyone with the link". This is for your teacher and TAs.
- Paste the link to your Google Doc in the Submission Comments section on this submission form (which becomes visible after you enter a file to submit)
You must Sign In to submit to this assignment